Many people who begin a hydroponic garden as a hobby quickly find that this is a hobby that is not only productive and enjoyable, but can be down-right addicting!
When this happens, it is usually time to upgrade some of the components in the grow room. If you are looking to make a move in this direction, then our suggestion is to first learn how to wire a 240v Circuit for grow room areas.
This will make it easier to control the ventilation and lights that you use in your hydroponic grow room, and it will also lower your electricity bills as this will not be adding to the strain on your regular circuit for the rest of your house. Here are some steps to follow when learning how to wire a 240v circuit for grow room areas.
Shut off the main power. This is a very important step to take unless you like being electrocuted. You will find this switch on the main panel of your breaker unit.
Remove the cover to the breaker box. In order to install and wire a 240v circuit for a grow room, you will need to expose some of the wires that are in this breaker box. This can only be done by taking off the panel covering. This should be a simple process of removing some screws, but be careful so you don’t damage any wires there.
Find a 10 inch electrical cable and remove the plastic covering from the ends of the red, white and black wires. These will be used for your new circuit.
Locate the bus bar on the bottom of the control panel, and loosen one of the screws a little bit. Take the exposed wires from the electrical cable and wrap them around this loosened screw, and then re-tighten that screw. The end of the white wire should be placed on the neutral screw. It is where all the other white wires in the box will be secured, so it should be easy to find.
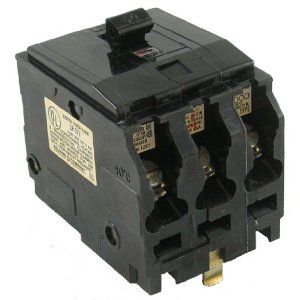
The red and black wires will be placed in separate terminal clamps. It does not matter which terminal they end up in as they are both hot wires and will serve the same purpose. If there are other wires in the box, then follow it all as uniformly as possible to avoid future confusion.
Attach the cable wire to a fish hook, and feed this through the top of the breaker box and manipulate it to where your new 240v circuit for the grow room will be. This is the tricky part. You might have to crawl around in the attic and drill some holes to get it where you want it to be. Before you purchase this cable, make sure you have enough length to reach the desired location.
Place and outlet and junction box in the place you want your 240v circuit. The junction box and outlet you purchase should have detailed instructions on how to install it. If not, you may want to seek professional help, as that is the most delicate part of the process and is where much of the danger comes from.
Connect your cable wire and fish tape to the junction box and outlet. Once this is complete, tight all screws and secure all panel coverings. These panels are here for safety reasons as well as aesthetic reasons. Do not skip this step.
Turn your main power switch back on and test your outlet. The appliance should now work. If it does not, then re-trace all these steps to find where you went wrong. If you cannot figure it out, then turn the power off and call in a professional as soon as possible.
There you have it! You now know how to wire a 240v grow room nema 6-15r or any other appliance that will need a 240v circuit in your hydroponic grow room. This is not the simplest process, but it can make a great deal of difference.