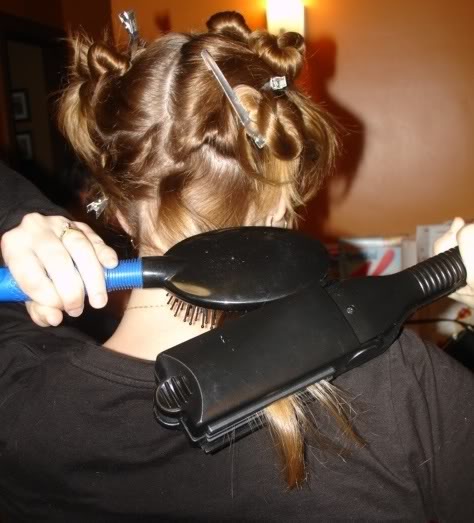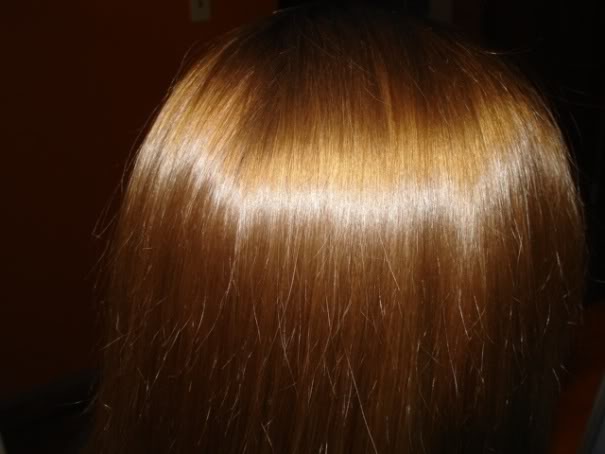
This article is a comprehensive but simple step-by-step tutorial that will tell you exactly how to go about giving yourself a proper Sedu hairstyle, and is specifically written for the beginner as it includes pictures showing each step being done to a model so that you know exactly what you need to do.
There is also a list of further resources at the bottom of the article.
Sedu and the ‘Jennifer Aniston Haircut’
Celebrities like Jennifer Anniston and Jennifer Lopez have brought this style into the limelight in America, but it was originally used in Japan. Did you ever wonder how the Japanese achieve their glamorous, chic, and luxuriously straight hair? Their method is a permanent Sedu hairstyling method.
This permanent method can be done at a salon for an exorbitant price but you can achieve the same effect on a daily basis without the cost of a salon with a sedu tourmaline ceramic iron.
 Originally sold only to salons, they are now available to the public. Obviously, first, you’ll need the Sedu iron (you can get it here from Amazon at a huge discount off the retail price)
. The sedu iron produces negative ions to control frizz and smooth out the hair. It is manufactured with smooth ceramic plates that prevent tangles and split ends. These plates are made with a crystal known as tourmaline which produces negative ions for healthy hair. The design of the Sedu iron makes it glide smoothly through the hair.
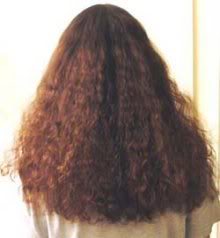
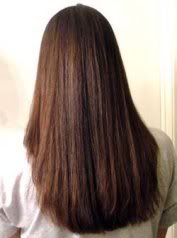
Below are before and after pictures with the vibrant look you can create for yourself:
 So, let’s get down to the nitty-gritty of sedu hairstyling. Gather your equipment: a quality sedu iron, a wide toothed comb, a fine toothed comb or brush and hair clips. Give yourself a little extra time and don’t try to rush through the process. You will be working with a hot iron, so take your time and be careful to prevent any burns. Relax and enjoy the process.
Below is a picture of naturally wavy hair before following the sedu hairstyling procedure:
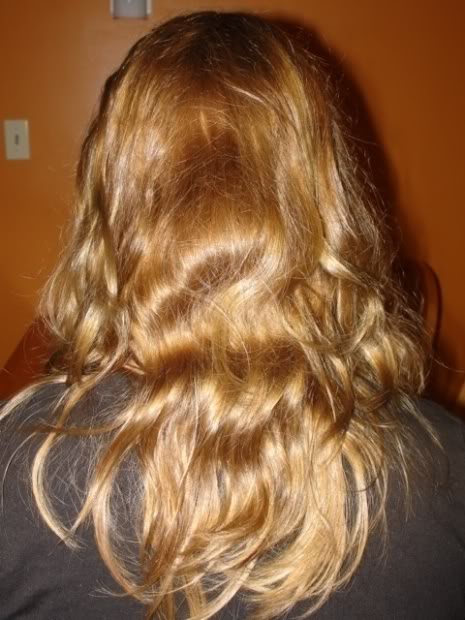
First, you will need to wash your hair. Oils in the hair can hinder the straightening process, so the hair must be clean. After washing, be sure to use a conditioner to help protect your hair against heat damage and to make it easier to comb through. Next, comb through your hair using a wide toothed comb starting at the tips and carefully moving your way up. This will help prevent tangling and tearing the hair.
Once your hair is free from tangles and falling smoothly, you will blow dry it completely. Start on the side of your head and place the brush under a section of hair at the roots. Hold the dryer at about a 45 degree angle and pull the brush down. Follow the brush with the hair dryer. After you finish drying the sides, continue with the back and then the top. Drying your hair in this way will eliminate as much of the curls and frizz as possible. You can spray your hair with a heat protection product, but make sure your hair is completely dry before you begin the straightening process.
Now is the moment you’ve been waiting for! Heat up the sedu iron. It should only take about 30 seconds. The temperature setting will depend on the type of hair that you have. If your hair is fine, use a lower setting and if your hair is curly or thick, use a higher setting. Most people get fabulous results with the medium setting because the irons are so efficient.
Divide your hair into 5 to 7 sections depending on how long or thick your hair is. Use hair clips to keep the hair sections out of your way while straightening. These sections will later be divided into smaller parts for straightening.
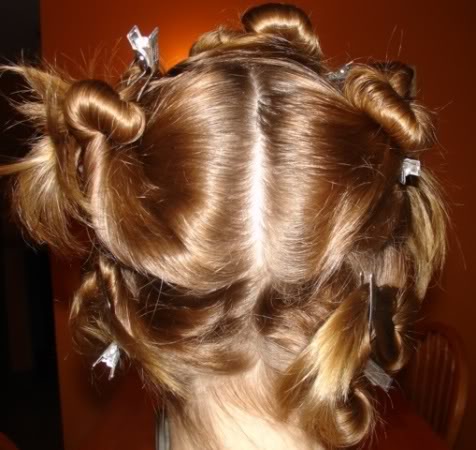
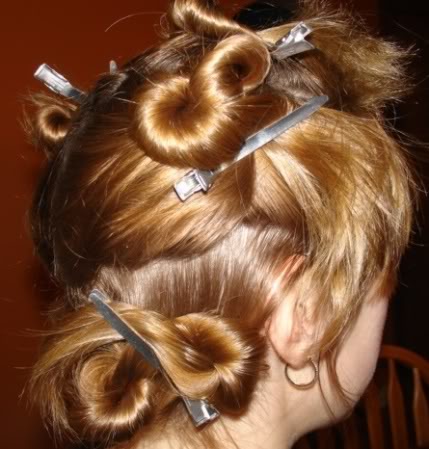
Using a fine toothed comb, let down the bottom layer of hair at the nape of the neck. You only want a thin layer at a time.
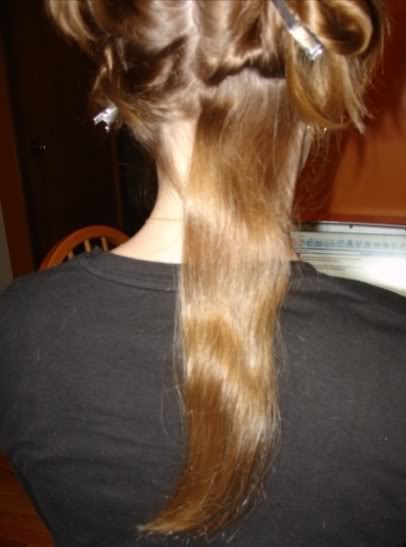
Clamp only about an inch or so of hair into the flatiron and begin straightening close to the roots. Slowly slide the iron through the hair from the roots to the tips without stopping using an even, steady motion. The sedu irons are designed to slide through the hair easily without pulling or snagging. Follow the iron with a fine toothed comb or brush.
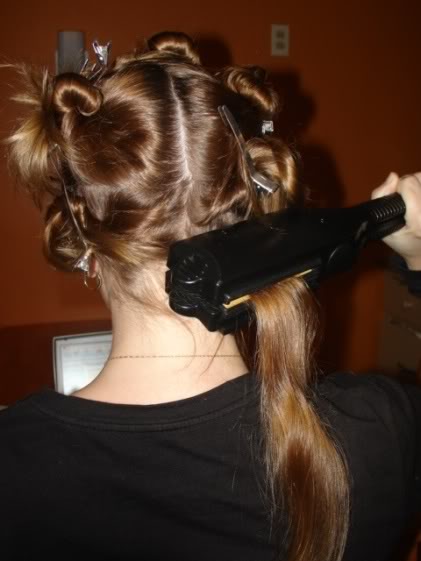
This may seem difficult at first, but you will feel more comfortable with it after a few passes. It usually takes two or three passes with the iron to get the straight, soft hair you’re looking for. Don’t rush through it and you will be delighted with the result.
Follow this method around both sides of your head. When you are satisfied that the section you just worked on is straight enough, let down the next section of hair.
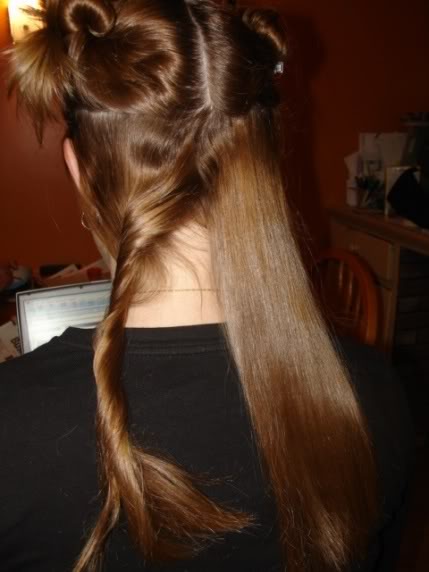
Continue working in the same way as the previous steps, letting down small sections of hair each time. The trick is to work from the roots all the way to the tips of your hair trying to keep the straightening smooth and even. The heat seals the hair so moisture cannot penetrate it. As you straighten each slice of hair, you will see it all coming together into a modern and chic hairstyle.
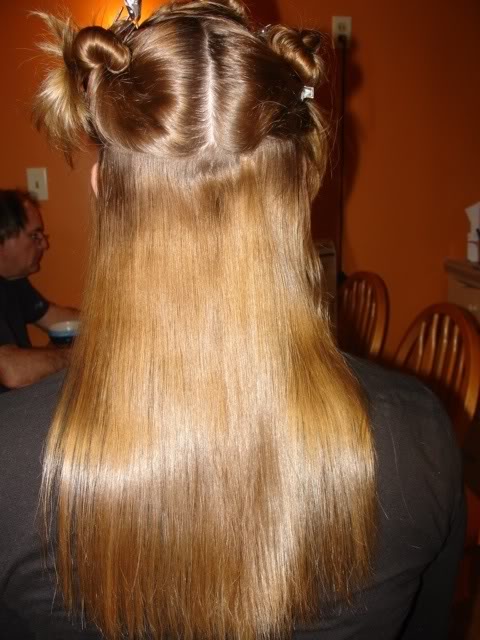
You can use a shine finisher when you are finished but it isn’t necessary. The sedu process will leave your hair glowing, fluid and straighter than you ever could have imagined. This style makes your curls and frizz disappear. It also enhances the features in your face for a gorgeous, fashionable look. Best of all, you will attain it without paying a fortune at a salon. You can use the sedu iron every day without the heat damage that older straightening irons caused. It is a perfect style for both day and evening.
Below are images of the finished sedu hairstyle. It was worth the time and effort!
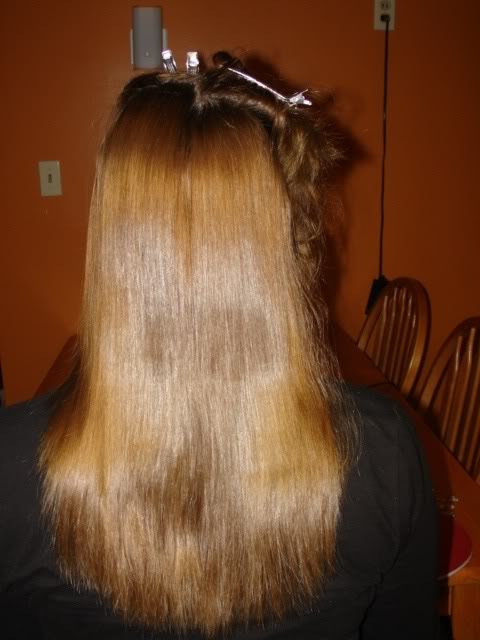
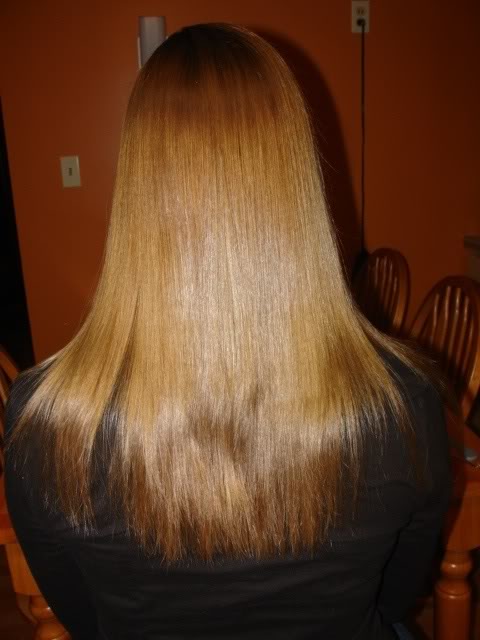
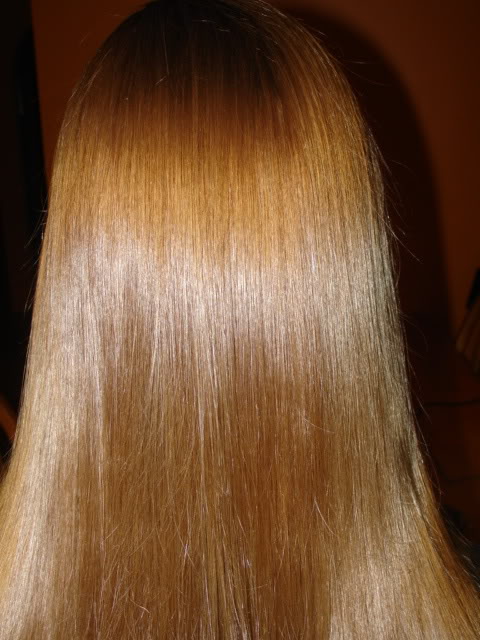
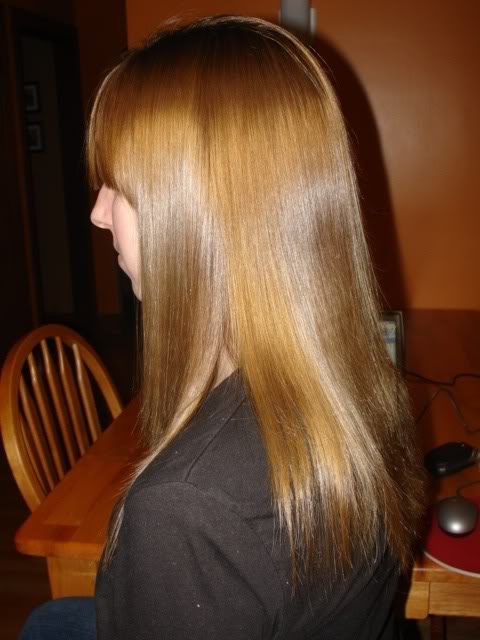
As you become more accomplished with the sedu iron, you can add different effects to your hair. Add a flip to your hair by inserting the ends of the hair into the iron and turning upward. You can add a curve under by turning the ends in toward the face. The iron also curls the hair if you twist it as it is pulled through the hair.
Experiment and have fun! Welcome to the world of sedu hairstyling.
Further Reading and Additional Resources
I highly recommend you check out a book called Good to Great Hair: Celebrity Hairstyling Techniques Made Simple if you’re interested in copying celebrity hairstyles–it’s co-written by Salma Hayek and is a superb resource on duplicating the hairstyles you see celebrities wearing.
Before and After Photos from SeduBeauty.com
Nice list of Sedu Hairstyle tips and a short how-to:
Sedu-Hairstyle.net’s Sedu How-To
Another short how-to at Howtodothings.com
