Greenhouse helps you to grow your own fruits, vegetables, and flowers all year round without having to worry about weather changes. Greenhouse simply controls the temperature and humidity, and reduces the collision of wind and other temperature change.
Commonly, a Greenhouse is made of glass or plastic materials because the incoming solar radiation from the sun is easily retained inside through the roof and wall. Moreover, the heat that is warmed near the ground is prevented from rising indefinitely and flowing away thus the plants absorb the right amount of heat needed for its optimal growth. Ventilation is a vital element in a greenhouse. It is mainly use to regulate the temperature to the optimal level, and to ensure movement of air and thus prevent the build-up of plant pathogens that prefer in still air conditions.
A ready-made greenhouse is conducive for growing plants but usually they are not associated with the word cheap. However, you can make your own greenhouse without draining your bank account. Although the process is a little tricky at first, but at the end of the day you will find it more fun and rewarding. Planning is an integral part of building your own cheap greenhouse. Basically it includes the style you want for your greenhouse, the size, and the location.
Location
Typically, a greenhouse should be located in an area where it is exposed to the maximum sunlight. Build your greenhouse in the south or southeast side of a building or trees as it allows the morning sunlight to pass through the greenhouse. The morning sunlight is perfect for growing plants as it allows the plant’s photosynthesis to start early. In addition to, southwest and west area is also another great option for building greenhouses as they tend to give plants the right amount of sunlight later in the day. Furthermore build your greenhouse in a place where utilities such as water and electricity is easy to reach. Once you have decided where you want to put your greenhouse then it is time to prepare the ground.
Structural Materials
Cheap greenhouses make use of lumber as its base, or if you have a leftover lumber you can use it as well, you can simply treat or paint it to ensure its durability. Another option is to use galvanized steel or aluminum. Depending on your preferences, you can use a rigid covering material or something that is easy to replace. Traditionally, glass is used as it offers a high degree of permanency and is inexpensive to maintain. But its drawback is its price, which is way too costly, and also they tend to broke easily. A fiberglass is one of the many selections for greenhouse coverings. A good quality of fiberglass ensures its durability making it last for about 15 to 20 years. Another one is a double-wall plastic, which is a good long life heat saving covers that is not too expensive. These types of coverings are easily bendable which are commonly used in curved surfaces. The most inexpensive type of covering is the film plastics, which are available in several grades of quality and various materials. The light transmission of these coverings is comparable to glass but it is replaced more frequently than the others as it doesn’t effectively defeat a strong wind.
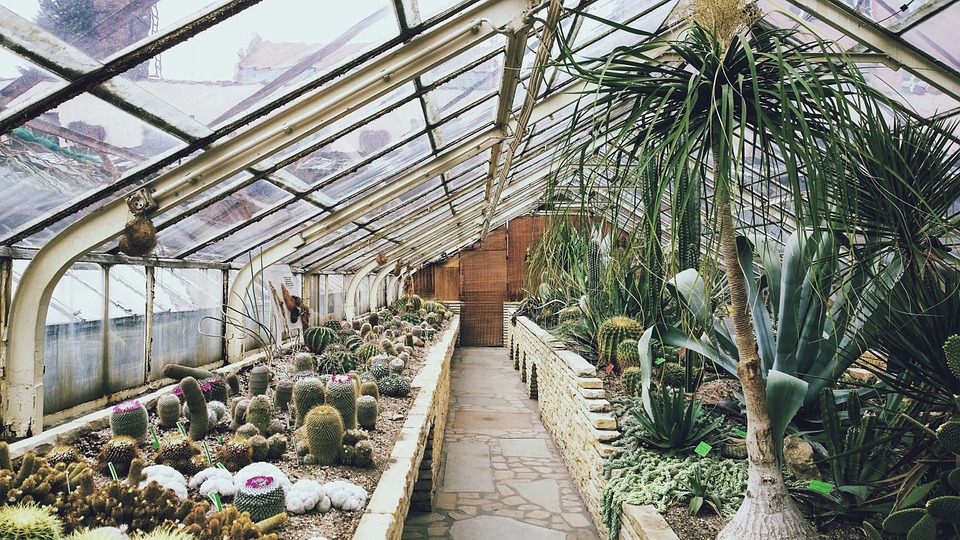
Types of Greenhouses
There are many types of greenhouses to choose from and each of them offers different functionalities. Some is build to provide optimum ventilation, retain heat well, allow better light penetration, or offer the best ventilation. Whatever your preference is, surely you can find one that in the market. These types includes traditional span, dutch light, three-quarter span, lean-to, mansard or curvilinear, dome-shaped, polygonal, alpine house, conservation, mini, and polytunnel. The type of greenhouse should depend on the type of gardening you do, the plants you want to grow, and your location.
Constructing the Greenhouse
The first step of building a greenhouse is to construct the base. You will need to dig four holes for the four corners of your greenhouse. Ensure that the measurements are accurate. After which stand a 2×4 timber in one of the holes and brace it then mix the cement and pour it in the hole with the post braced in place. Repeat these steps for the rest of the posts. Once all the posts are done, you can now build the frame. Layout the timber on a flat surface and connect it together to form a wall. Place diagonal braces and screw into place. Set the walls on the base and prop in place with boards. Using galvanized nails or wood screws, carefully attach the bottom of the walls to the top of the base. Repeat the process on the other side of the wall then do the front and back as well. After working with the frame, it is now time to cover the greenhouse. Attach the plastic with a good quality staple gun and stretch it across the greenhouse, making sure it is sealed tightly. The last part of building a cheap greenhouse is to make the door. You can simply construct a door frame that will fit better to your greenhouse. Then attach the hinges and lock on the other side of the frame. Once the door is in place, it’s time to weather proof your cheap greenhouse for longevity.
If the cheap greenhouse is likely to experience the upcoming winter months then place another roll of cheap plastic or a fabric such as burlap and staple them to the greenhouse frame. Ventilation is another option to keep temperatures at an acceptable level for plant’s growth in the winter.
During the summer months, your greenhouse should be a refreshing place for your plants. Too much heat on a summer day will most likely overcook your plants so a proper weatherproofing is required. The cheapest way to cool your greenhouse is with the use of an exhaust fan along one wall and cross-fluted cellulose pads along the other wall. It is the most common alternative to traditional roof vents, the warm air from outside is drawn through the pads by the exhaust fans. The pads are kept constantly wet, and through the process of evaporation, heat is removed from the air passing through the pads into the greenhouse.